
MWJ Wood Turning
From Log to Bowl
A tree felled in a storm can have a second life.
My work starts with reclaimed logs. I won’t take down a tree just to turn it into a bowl.
Reading the log
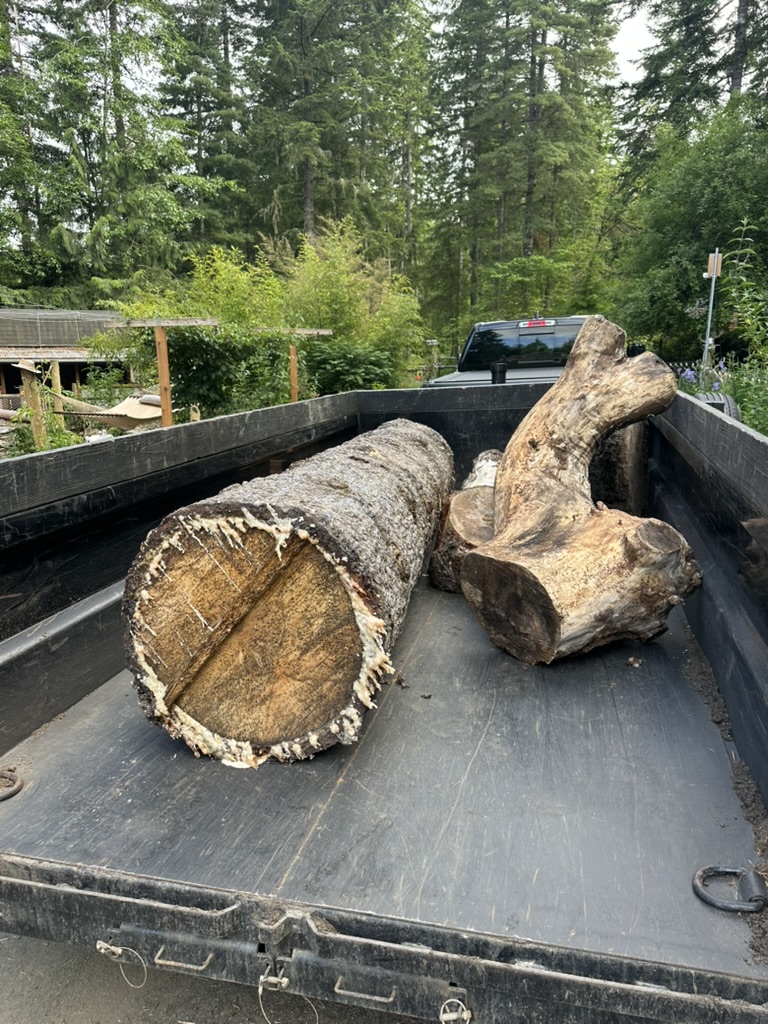
Branch crotches, burls, straight grain, figured grain, and root flares all offer different possibilities. As a log is cut apart, more of its character becomes visible.
Decisions begin with the chainsaw. Each cut involves choices about how to make the best use of the wood: which features to preserve, how to orient each piece, and what form or function might suit it. A single log may yield several very different turnings.
Chainsaw to bandsaw
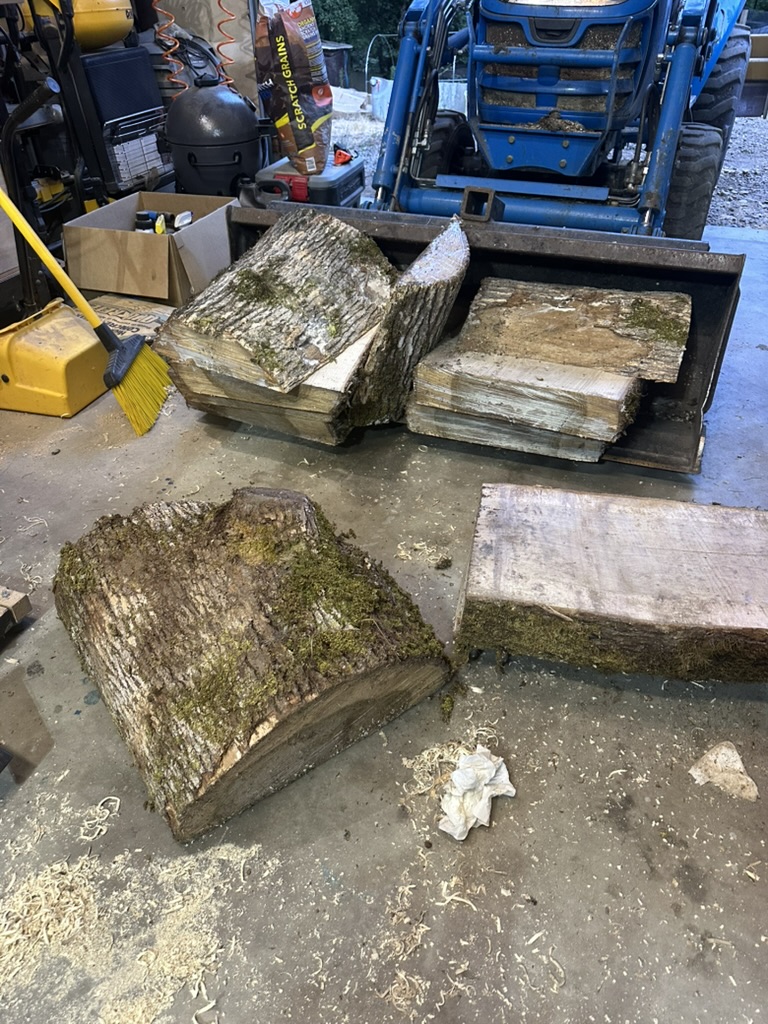
Wood too large for the bandsaw starts at the chainsaw. Logs are cut into sections, then divided into rough-cut blanks. Decisions begin with these first cuts: how to follow the grain, preserve interesting features, and make the best use of the wood.
Those decisions continue at the bandsaw. Each rough-cut blank is examined to find the best placement and orientation for the turning, following the grain and working with the features of the wood. The blank is then trimmed to shape, ready for the lathe.
At the lathe
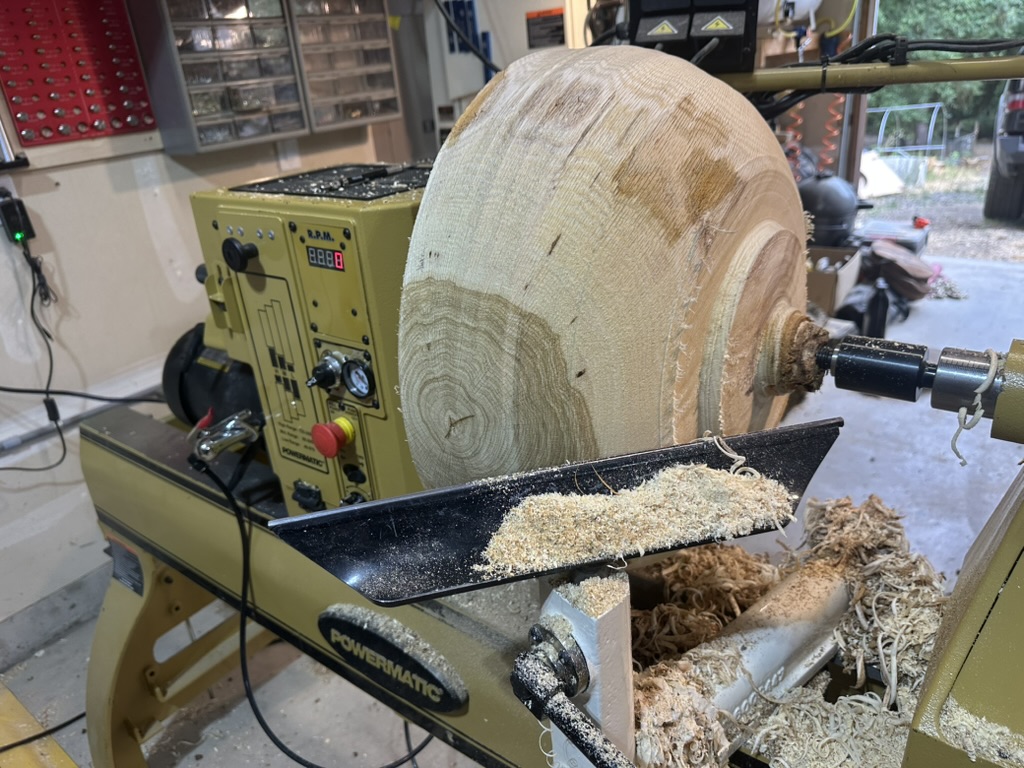
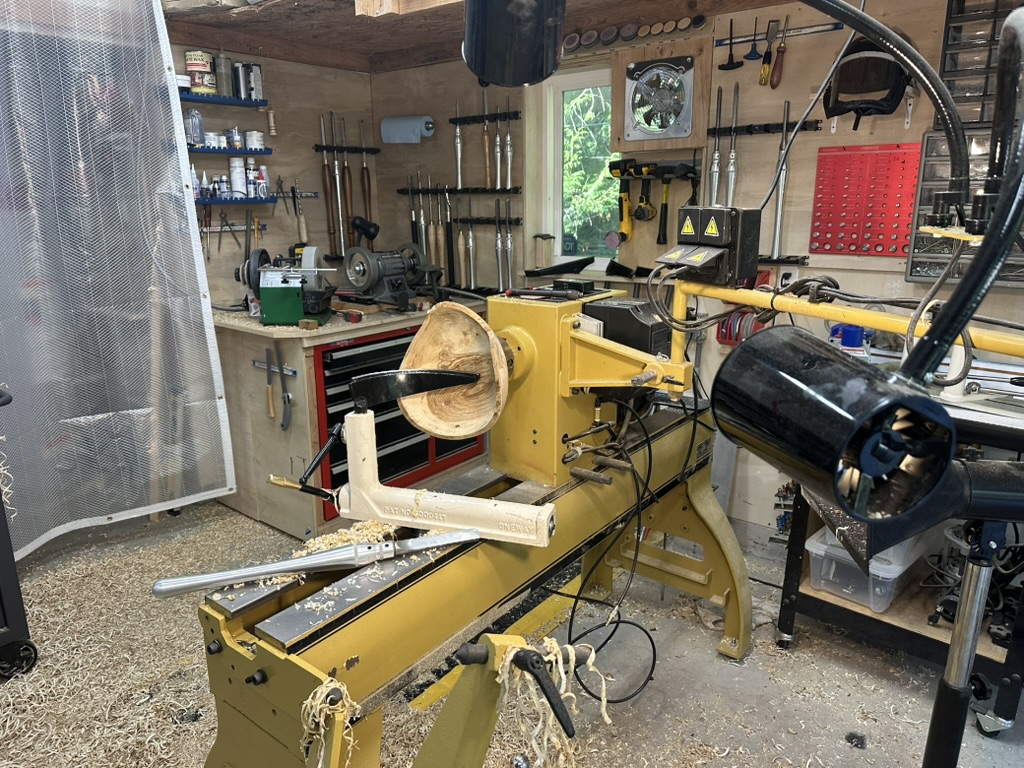
Many bowls are turned in two stages. First, the wet wood is rough-turned, leaving thick walls, then set aside to dry. As the wood dries, the bowl warps. The extra thickness leaves room to turn away that distortion when the bowl returns to the lathe, revealing a round, refined bowl within.
Other bowls are turned to their final thickness while the wood is still wet, then allowed to dry. In these pieces, the natural movement of the wood becomes part of the artistic expression. Rather than being turned away, the curves and irregularities created during drying become part of the finished form.
Drying and waiting
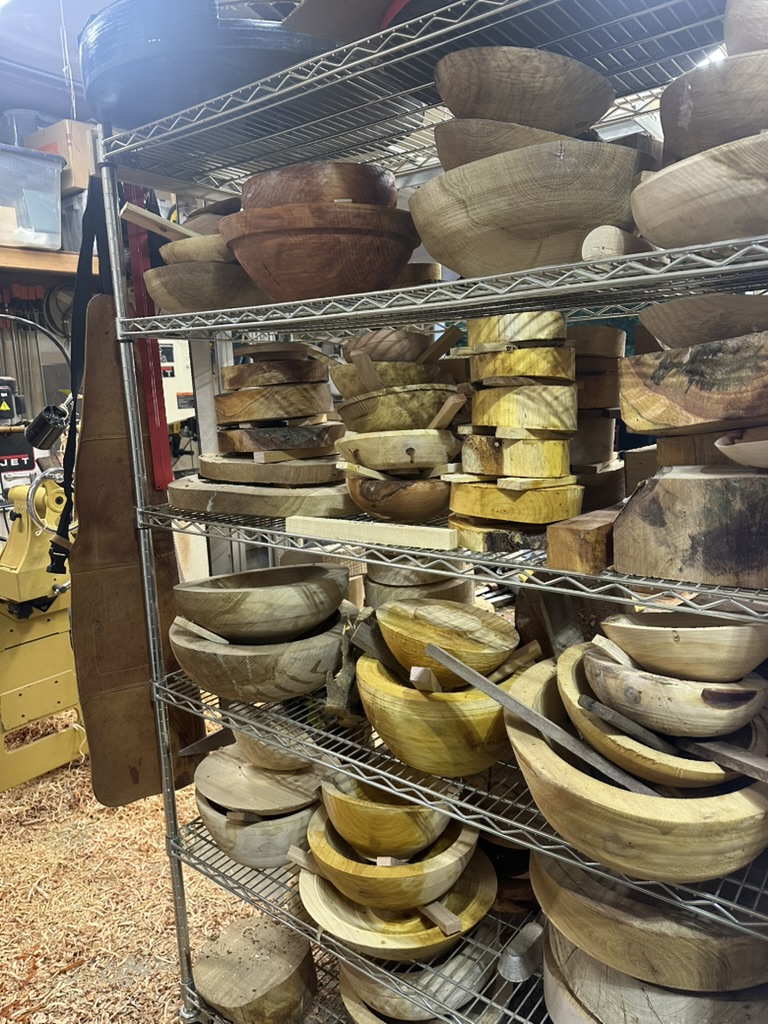
Rough-turned bowls are stacked and set aside to dry, with small spacers called stickers between them to allow air to circulate.
Drying takes patience. A rough rule of thumb is one year per inch of thickness, though the time varies with the wood and drying conditions. As moisture leaves, the bowls warp and change shape.
I weigh the bowls periodically to track their progress. When successive readings remain consistent, the wood has reached a stable moisture level in its drying environment, and the bowl is ready to return to the lathe.
Finishing
The finish is chosen to suit the piece – its intended use, shape, and the features of the wood.
Linseed and tung oils penetrate the wood and cure, bringing out the grain, enriching its color, and leaving a surface that feels close to the wood itself. The oils I use are heat-treated the traditional way, without metallic drying additives. Wax can add a soft sheen and a smooth feel.
I also mix my own shellac from flakes dissolved in denatured alcohol. Shellac and friction polishes such as Shellawax and Mylands bring out the grain and can be polished to a lustrous surface. For some pieces, I use a Mohawk spray lacquer to build a clear protective coating.
Each finish offers a different balance of appearance, feel, and protection. The choice is part of making the finished piece work well for its purpose.
Bowls for food and everyday use
Bowls intended for preparing or serving food are always finished with linseed oil or tung oil. These finishes enrich the grain and color while preserving the natural feel of the wood.
I use Tried & True Danish Oil, a polymerized linseed oil, and Original Wood Finish, which combines linseed oil with beeswax for a soft sheen. I also use Walrus Oil Polymerized Tung Oil.
These oils are treated with heat rather than metallic drying additives. The manufacturers identify them as suitable for food-contact surfaces when properly applied and cured. The links above provide more information about ingredients, application, and care.
Bowl Care
Care depends on the finish and intended use of the piece. Check the finish number and any treatment letter on your piece’s label.
For oil-finished bowls intended for food use, hand wash gently with mild soap and lukewarm water, then dry promptly. Never soak them or put them in the dishwasher.
Decorative pieces and those intended for dry use need different care. The full guide explains each finish, how to maintain it, and any restrictions that apply.
Download the Finish and Care Guide ↓
Word document
MWJ Wood Turning · Port Orchard, Washington

